Low Poly 3D
Guides4 min read
Set a Triangle Budget and Distance LODs for Real-Time Scenes
Turn single-model poly counts into an actionable frame budget, generate 50% and 25% LOD tiers in your browser, and test distance handoffs in Godot 4 and Unity.
Think in visible frame triangles, not single-model bragging rights
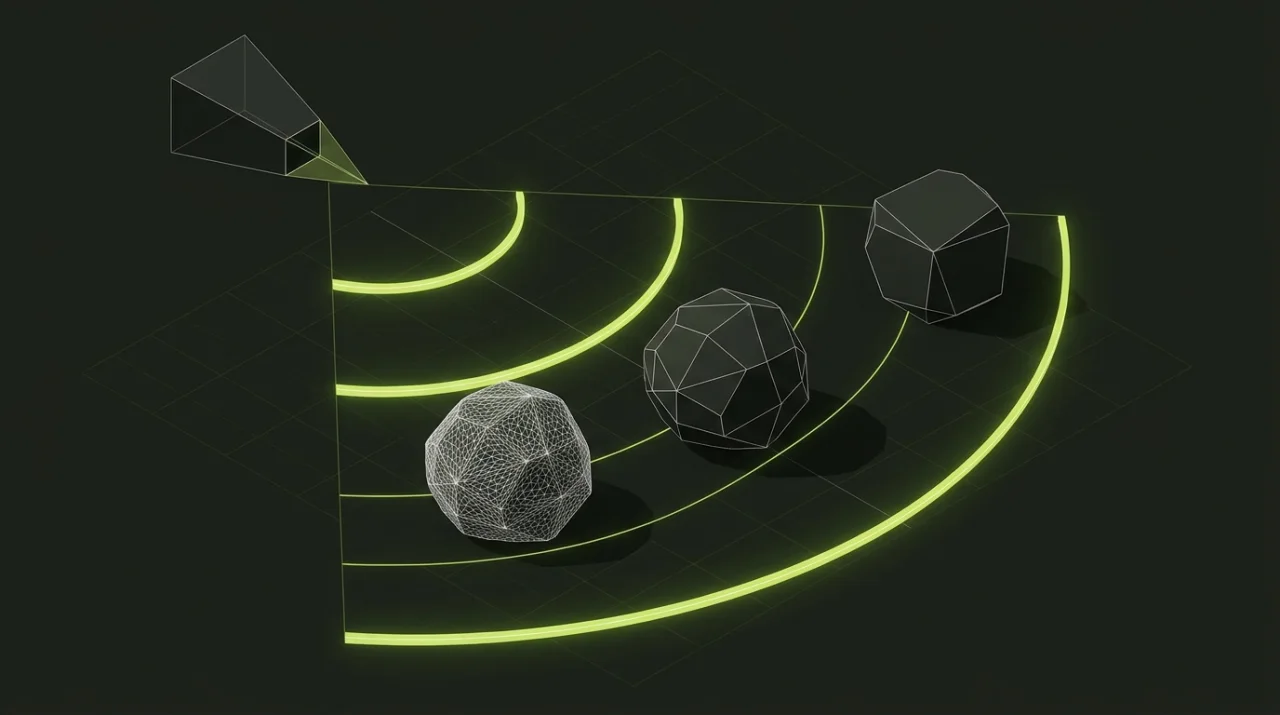
A single 500-triangle rock looks trivial in isolation—until a level designer instances 400 of them across a valley alongside trees, buildings, shadows, and post-processing. Frame time depends on visible triangles per camera view, multiplied by shadow caster passes and draw calls.
Use these practical per-asset ranges as a starting baseline before profiling on your minimum-spec target device:
| Asset Role | Typical Distance | Recommended Triangle Range | Default LOD Strategy |
|---|---|---|---|
| Background scatter (pebbles, tufts, rubble) | 15 m – 80 m+ | 50 – 300 tris (LOD0), 50 – 150 (LOD1) | Aggressive 50% / 25% reduction + culling |
| Modular world props (barrels, crates, signs) | 2 m – 35 m | 200 – 1,500 tris (LOD0) | Two-step LOD chain (50%, 25%) |
| Architecture & landmarks (arches, cottages) | 0 m – 120 m | 400 – 3,000 tris (LOD0) | Preserve silhouette edges, swap distant impostors |
| Foreground hero props / player gear | 0.5 m – 10 m | 1,500 – 6,000 tris (LOD0) | Full detail close up, 50% once mid-range |
Walkthrough: calculating real scene savings with LODs
Open the LOD Generator and feed it the 500-triangle River stone sample. Using the default descending ratios (50%, 25%, 10%):
- LOD0 (Original):
500triangles for nearby foreground stones. - LOD1 (
50%target):250triangles for mid-range terrain. - LOD2 (
25%target):124triangles for distant slopes. - LOD3 (
10%target of 50 tris): skipped cleanly in the exported ZIP because the mesh reaches its shape limit at100triangles—preventing mangled, collapsing rock cards from sneaking into your build.
Now multiply across a hillside view containing 100 rocks:
- Without LODs:
100 × 500 = 50,000raw triangles in view before shadow passes. - With distance tiers (
20near at LOD0 +80far at LOD2):(20 × 500) + (80 × 124) = 19,920triangles—a 60% reduction in rendered geometry without changing a single close-up silhouette.
Inspecting silhouette seams on architectural props
Organic boulders hide facet merges well. Hard-edged structures and silhouette landmarks do not—their outer rim against the sky tells the eye immediately when an edge collapses.
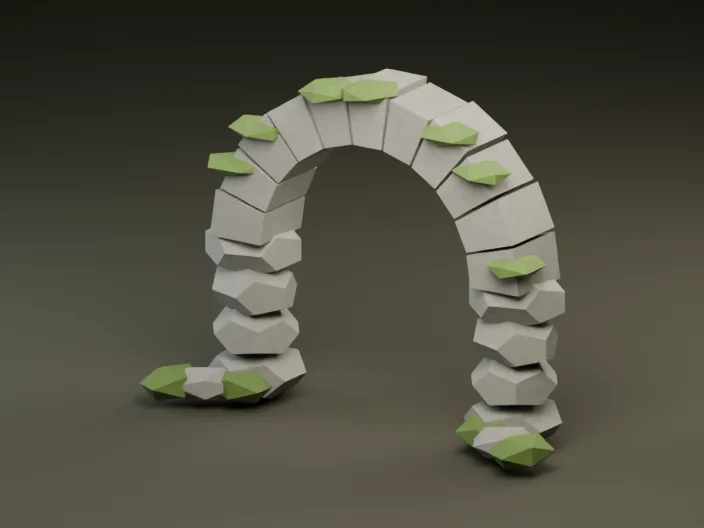
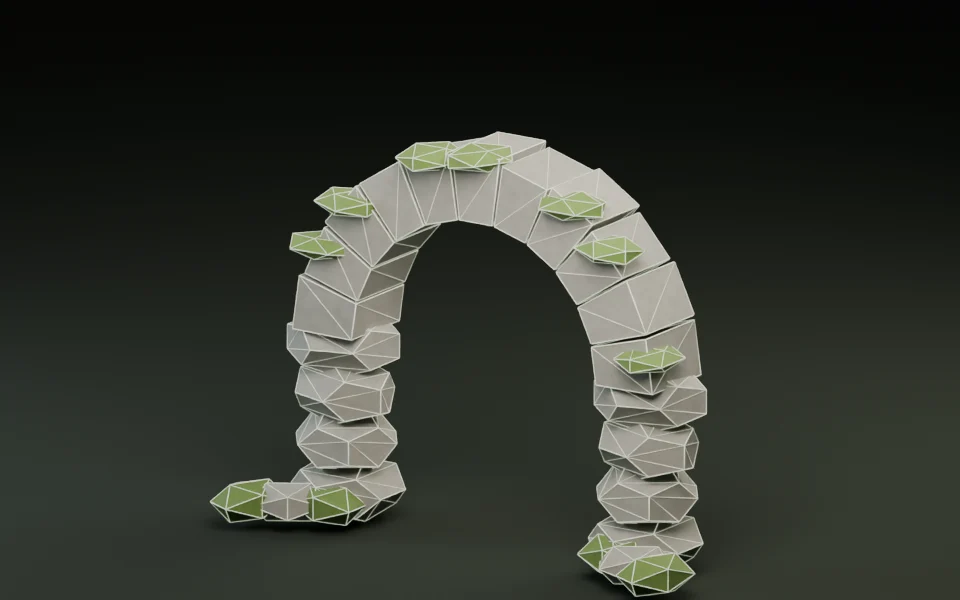
Compare shaded and wireframe views in the Polygon Reducer or LOD Generator before accepting lower tiers:
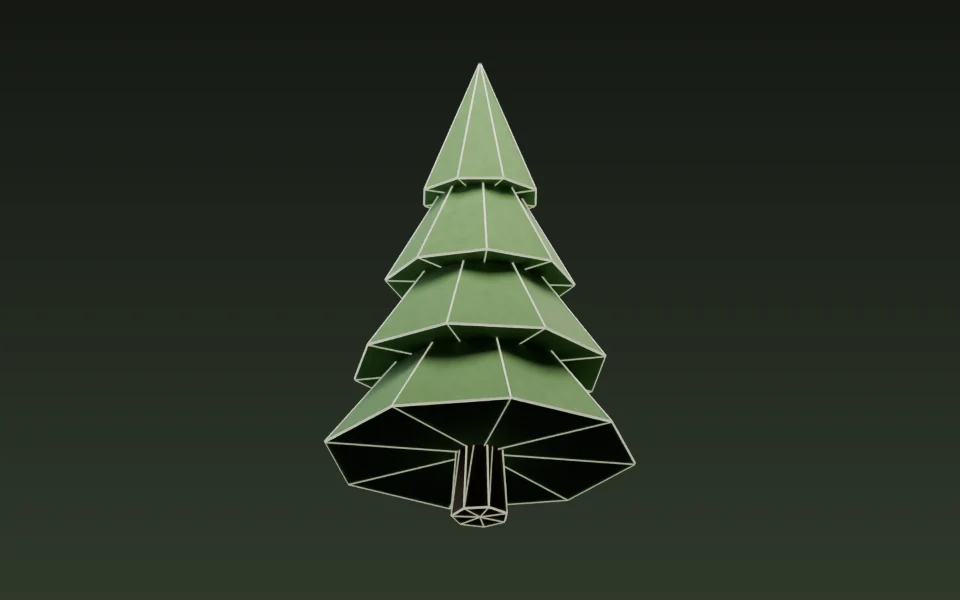
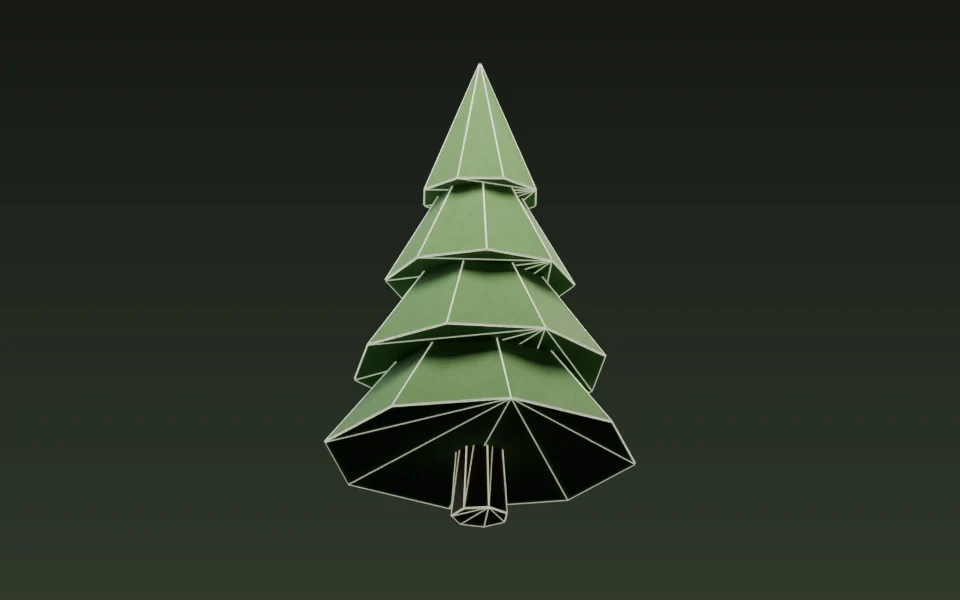
- Keep walkable thresholds (archways, stairs, bridges) intact so players never see floating visual gaps over solid colliders.
- Protect ground contact loops where trunks and stone bases touch terrain.
- Customize LOD percentage ratios (
5–99, strictly descending) whenever a landmark needs65% / 35%rather than50% / 25%.
Wiring visibility ranges cleanly in Godot 4 and Unity
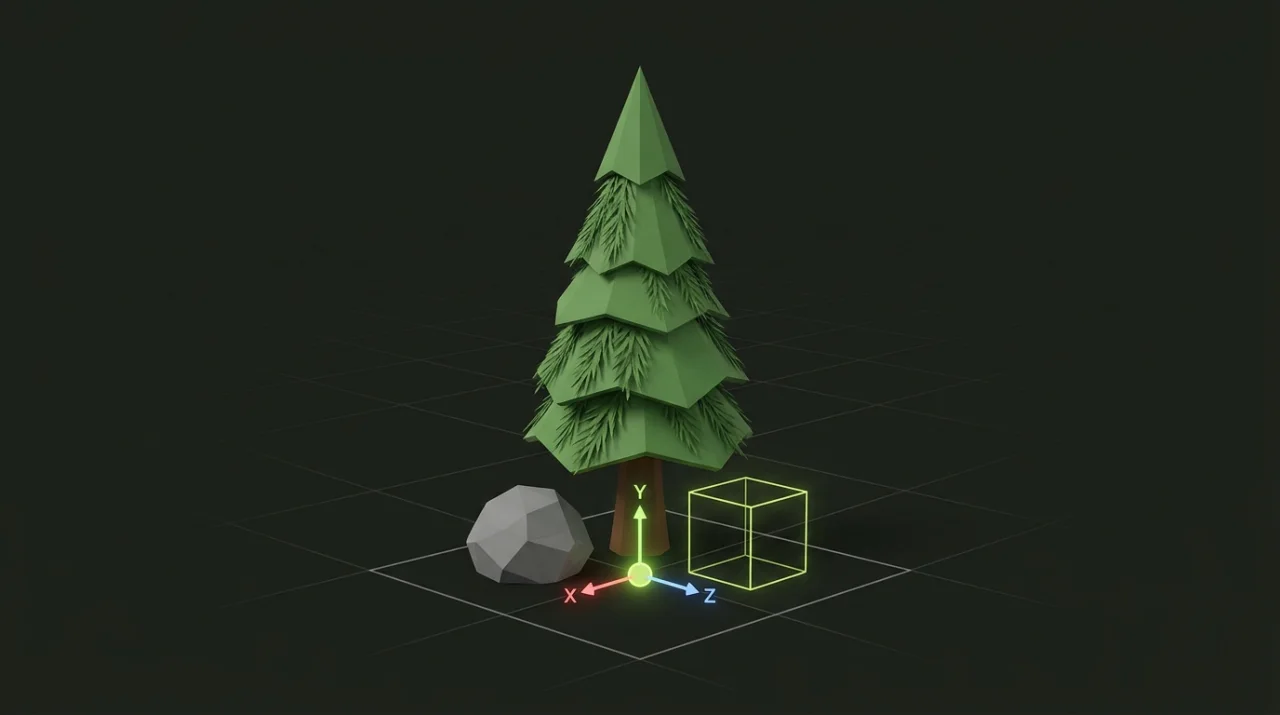
Export your LOD ZIP, unpack the lod0, lod1, and lod2 GLBs, and verify in GLB Inspector that every level shares the exact same pivot and meter bounds. If LOD1 shifts 5 cm sideways or uses a different scale, players will see props visibly "hop" across the ground at transition distance.
In Godot 4, stack sibling MeshInstance3D nodes under one parent and configure Godot visibility ranges on each mesh:
# Assign non-overlapping begin/end distances in meters (plus optional fade margin):
# LOD0 MeshInstance3D -> visibility_range_begin = 0.0,  visibility_range_end = 15.0
# LOD1 MeshInstance3D -> visibility_range_begin = 15.0, visibility_range_end = 40.0
# LOD2 MeshInstance3D -> visibility_range_begin = 40.0, visibility_range_end = 100.0
In Unity, place the meshes as children of an empty GameObject with a single LODGroup component and adjust the screen-relative height thresholds while flying the Scene camera slowly across the switch line.
Next step: once your LODs and pivots match, see Keeping Mixed Low Poly Props Consistent in One Game Scene to align scale and palette across your full pack.