Low Poly 3D
Guides4 min read
Import a GLB into Godot 4 Without Broken Pivots or Materials
Step-by-step workflow for bringing static low poly GLB props into Godot 4, fixing ground-center origins, checking flat-color vs textured materials, and setting up clean collisions.
Quick troubleshooting table
When a GLB prop lands in Godot 4 looking floating, washed out, or misaligned, the root cause almost always lives in the exported file rather than the Godot scene. Match what you see in the 3D viewport to the fix below before tweaking scene transforms by hand.
| Symptom in Godot 4 | Likely Cause | Immediate Fix |
|---|---|---|
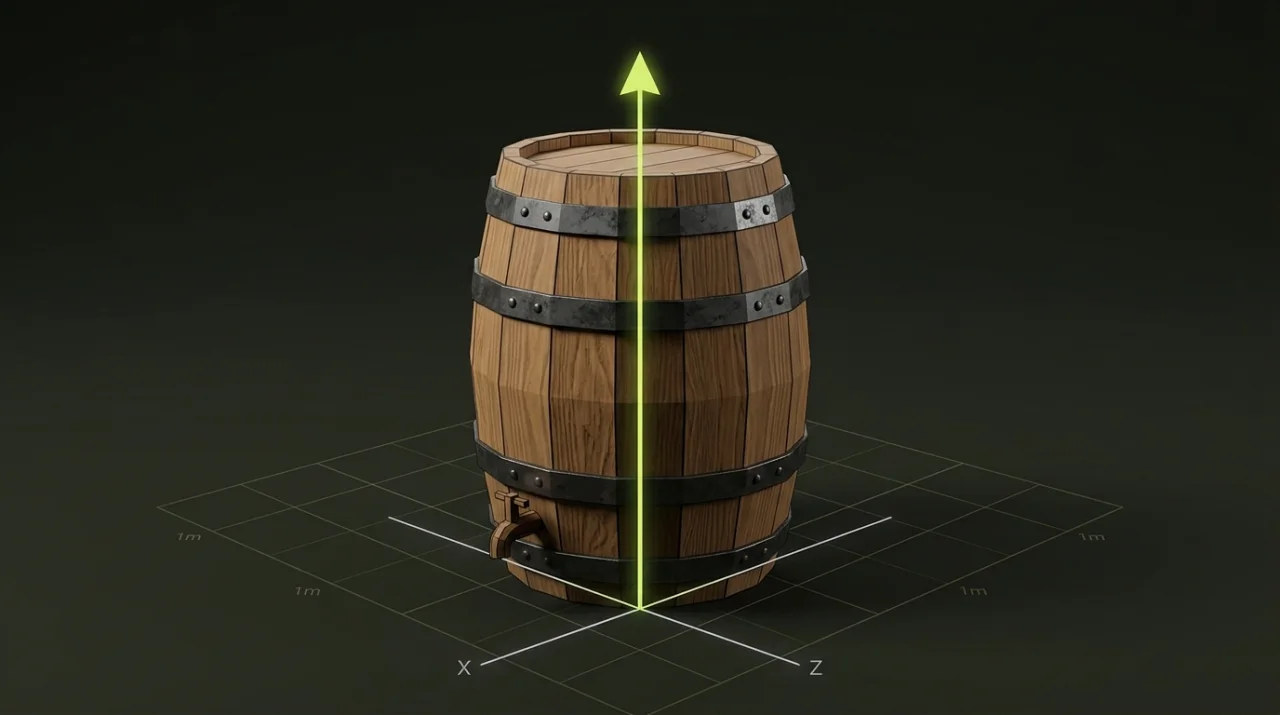
| Model sinks halfway through the floor | Origin is at bounding-box center instead of base | Re-anchor pivot to bottom in Origin & Transform |
| Prop spawns lying on its back | Source tool exported Z-up instead of Y-up | Apply a -90° X-axis turn before importing |
| Surface looks flat white or too dark | Zero-texture materials need a scene light | Add DirectionalLight3D or inspect materials first |
| Prop spans 100 meters across the terrain | Exported in centimeters rather than meters | Normalize dimensions to 1 unit = 1 meter |
| Collision edits vanish after re-export | Edits were applied directly to the raw .glb | Instance the .glb inside a parent .tscn wrapper |
Before you import: verify the GLB in 30 seconds
Open your prop—or download our free Forest pine sample—and drop it into the GLB Inspector before copying files into res://. Confirm four fields up front: triangle count, material slots, embedded texture count, and bounding dimensions in meters.
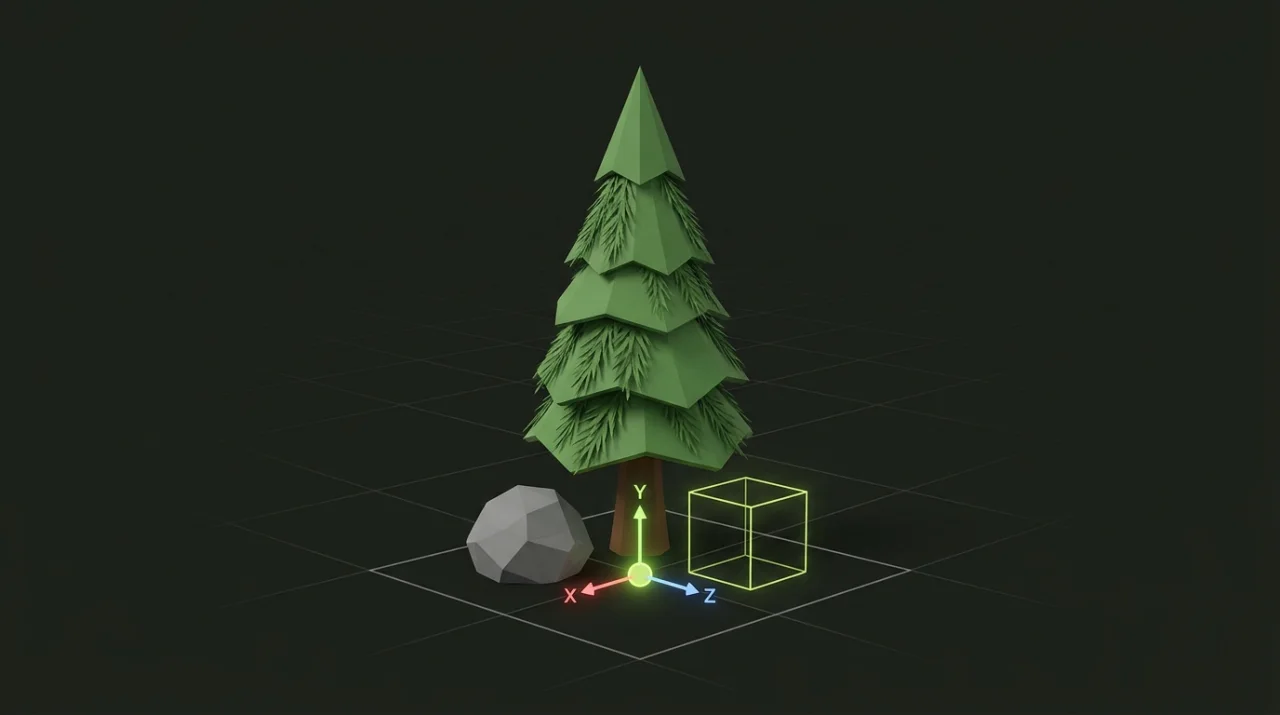
A clean static prop can legitimately report zero embedded textures when it uses solid-color PBR materials. For example, our Forest pine sample uses 92 triangles, 5 flat-color materials, 0 embedded textures, and a bounding box of 2.00 × 3.07 × 2.00 m with a ground-center origin. Checking that summary up front saves you from hunting for missing .png texture files that were never meant to exist.
Step-by-step import and scene placement in Godot 4
- Copy the
.glbfile into a dedicated folder inside your Godot project (for instanceres://assets/props/) and wait for the FileSystem dock to finish reimporting. - Add a
DirectionalLight3DandWorldEnvironmentto your test scene so facet normals and shading respond accurately. - Drag the
.glbfrom the FileSystem dock into the 3D scene tree to create a lightweight Scene Instance, rather than editing the imported hierarchy in place. - Double-click the
.glbin FileSystem only when you need Advanced Import Settings (for example overriding surface materials or generating static collision meshes on import).
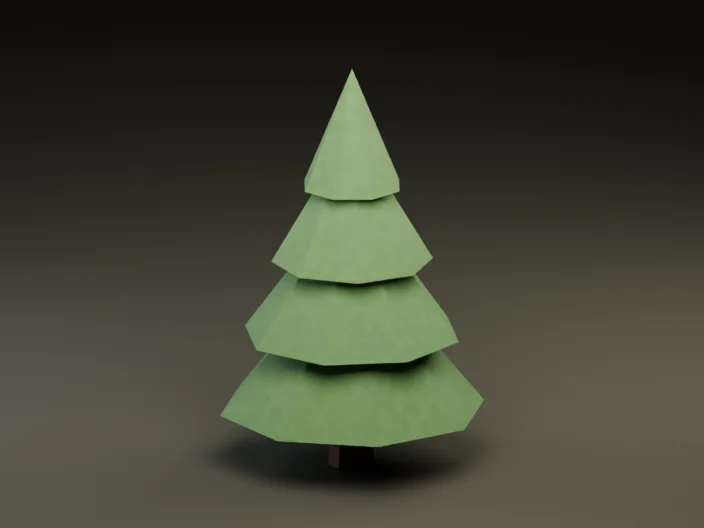
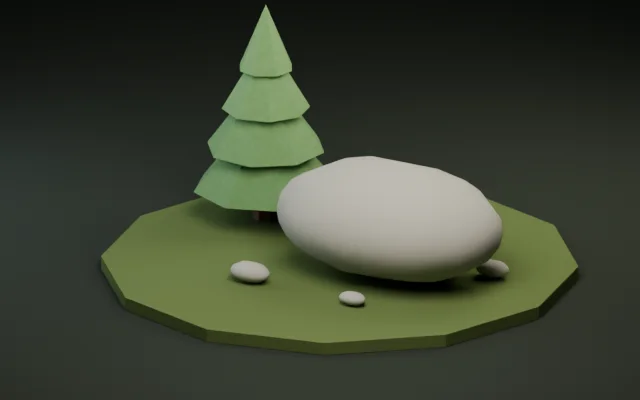
Both the Forest pine (
92tris,9,716B) and River stone (500tris,36,944B) samples were verified in Godot 4.7.2 stable for orientation, material binding, and meter-accurate scale.
Fixing origins, rotation, and scale before export
Never patch a tilted or floating mesh by offsetting every single MeshInstance3D node inside Godot—the moment you scatter props with a script or GridMap, those per-node offsets break snapping and alignment.
Instead, open the file in Origin & Transform:
- Select the Bottom-center pivot preset so
Y = 0sits cleanly beneath the lowest vertex, ready to drop ontoy = 0terrain planes. - Apply
±90°quarter turns on X, Y, or Z if your prop came from a Z-up CAD or Blender export. - Compare the reported bounding box in meters against a standard
1.0 × 1.0 × 1.0 mreference cube in your Godot test scene before exporting a clean GLB.
Materials, lighting, and collision shapes
Keep gameplay behavior and physics colliders in a wrapper .tscn scene that instances the .glb, never directly on the imported nodes. That way, re-running a mesh simplification or LOD pass later updates the geometry automatically without wiping out your scripts.
# Typical wrapper scene structure for a static prop:
# StaticBody3D (root prop.tscn)
#  ├── CollisionShape3D (BoxShape3D or ConvexPolygonShape3D)
# └── MeshAsset (instanced river-stone.glb)- Small pickups and scatter rocks: prefer simple primitives (
BoxShape3D,SphereShape3D) or a single Convex shape for fast physics checks. - Walkable ruins and bridges: generate or assign a Trimesh static body only on static terrain pieces that never move.
Once the prop imports cleanly and sits flush at ground level, check How to Reduce GLB File Size and Set a Triangle Budget for a 3D Scene before populating your level.